
When you use Veryfi to capture your receipts, you can also automatically send them to your Saasu account.
Saasu is an Australian owned company that develops online accounting software. It is distributed using the software as a service model. Saasu capabilities include sales, purchasing, inventory, payroll, CRM, point of sale, document and workflow management, global search and tagging.
Step by Step Saasu integration
Follow these simple steps below and your Veryfi and Saasu account will be connected in no time.
1. Inside Veryfi app, navigate to “More > Connected Apps”.
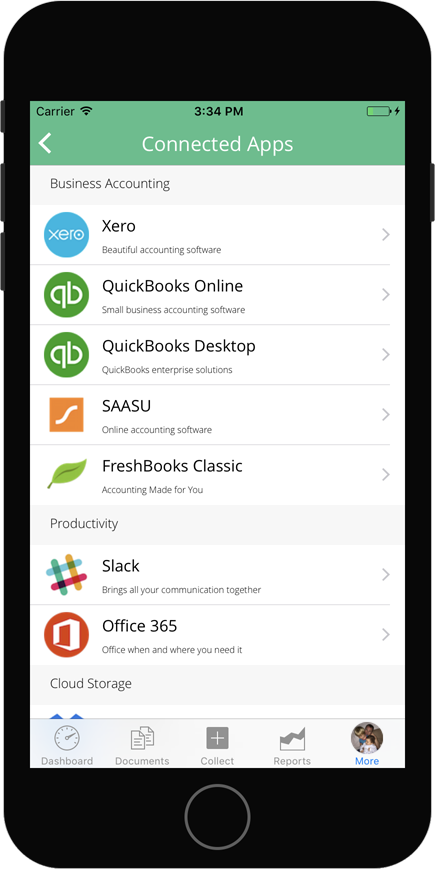
2. From the list, press “Saasu” to begin the integration process.
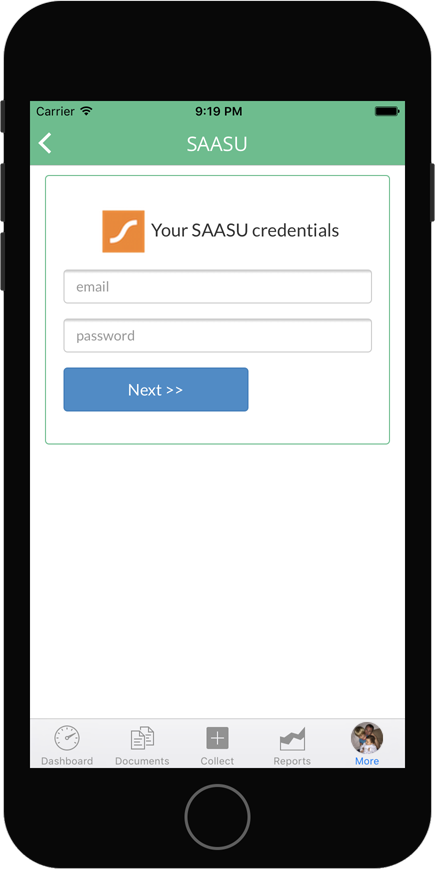
3. You will be asked to login to your Saasu account. Use your “Saasu account” to login. All communication is safe and encrypted using AES encryption sent over HTTPS 128-bit encryption/SSL to and from our Tier 4 facility.
4. Once you have logged in. You will be presented with a series of configurable options. They include:
- Default Tax Code – if you don’t know this you can leave it blank,
- Default Expense Type – select one from the drop down menu and
how to handle new receipts pushes to Saasu ie. auto push using our Rules Engine or manual. - If you selected “Auto-upload all my receipts to Saasu”, a new Rule will be created in the Rules section. You can manage this and many other custom rules from there. Take a peek and learn about the power of automation in veryfi.
5. Finally you will see a thank you screen that everything is now done. Press “Done” in the header navigation or the back arrow to go back to the Connected Apps screen.
Saasu is Connected!
You will see a checkbox next to Saasu after a successful Saasu connection.
To disconnect from Saasu simply tap the Saasu cell again. You will be prompted if you really want to disconnect.
SAASU tag
Now that your accounts are synced, remember this rule for using Veryfi with Saasu: In order for a receipt to end up in Saasu, it must be tagged with tag “sassu” This is to ensure that only relevant receipts are sent to Saasu. Tagging receipts is simple and effective, and you can check out our tips here.
If you plan to have all of your receipts sent to Saasu, you can select “Auto-upload all my receipts to Saasu” during the app connection process and a new Rule will be created. However, if you are capturing multiple types of receipts with Veryfi, you will have to manually tag the ones you want sent to Saasu.
To learn more about tagging, read our guide on managing receipts.
Once you tag a receipt with “sassu,” the Sassu icon inside the Veryfi app will light up within 5 minutes, indicating that the receipt is now available in your Sassu account.
Alternatively…
If you selected “Auto-upload all my receipts to Saasu” during the setup of Saasu, a new Rule would have been created in the Rules section. This means that all new receipts being scanned in will be automatically tagged with “saasu” tag and thus pushed into Saasu automatically. You can manage this and many other custom rules from there. Take a peek and learn about the power of automation in Veryfi.
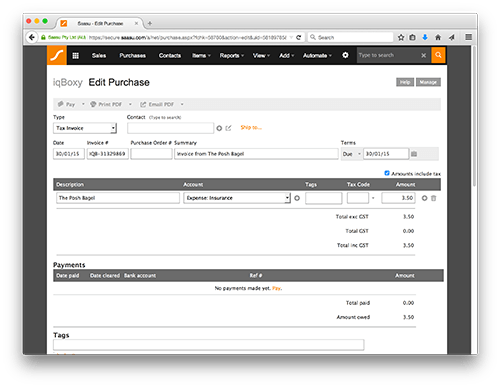
What to expect inside Saasu
Editing your Integration Settings
After having successfully connected to Saasu, there may be a time when you want to update your Saasu Integration Settings. They are the Settings you filled out on Step #4 (above) in “Step by Step Integration” section. Editing your Saasu Integration Settings is easily done by swiping the Saasu cell with you finger. Just like you do when you want to delete something. Once you swipe you will see Edit & Disconnect options (shown below left). Click the Edit to go into Settings (shown bottom right). And that’s it. Super easy.